Upper Legs Exercise · Body Weight
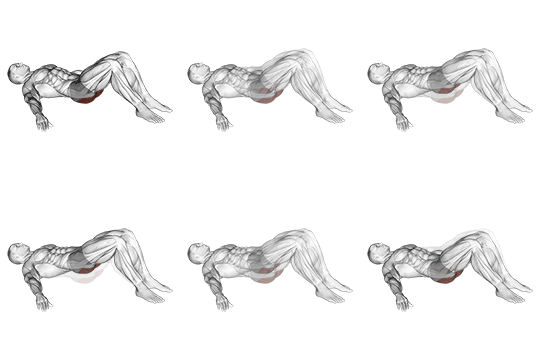
Low Glute Bridge On Floor
- Category
- Upper Legs
- Equipment
- Body Weight
- Target
- Glutes
Biomechanical cues verified by the PlanWorkouts Science Review Board under CSCS editorial oversight; see our editorial standards.
The Low Glute Bridge On Floor is a compound upper legs movement designed to train the Glutes with direct engagement of the Core.
Posterior-chain dominant movement in the sagittal plane. High torque at the hip joint requiring forceful extension by glutes and hamstrings with static lumbar spine stabilization. Executing this with strict form maximizes muscle fiber recruitment while protecting joint structures.
Quick Exercise Facts
Target Muscle Activation
The low glute bridge trims the range of a standard glute bridge, which keeps tension more constant on the glutes by never fully lowering the hips to rest between reps. It's a good option for building glute activation before heavier hip thrust work later in a session.
How to Do the Low Glute Bridge On Floor
- Lie flat on your back with your knees bent and feet flat on the ground.
- Place your arms by your sides, palms facing down.
- Engage your glutes and core, then lift your hips off the ground until your body forms a straight line from your knees to your shoulders.
- Pause briefly at the top, squeezing your glutes.
- Slowly lower your hips back down to the starting position.
- Perform for your targeted rep count, focusing on a deliberate tempo and maximum tension in the glutes.
Recommended Sets & Reps by Training Goal
70–80% 1RM · 90–120s rest
85%+ 1RM · 2–3 min rest (Calc 1RM)
50–60% 1RM · 45–60s rest
Biomechanical & Joint Load Cues
Posterior-chain dominant movement in the sagittal plane. High torque at the hip joint requiring forceful extension by glutes and hamstrings with static lumbar spine stabilization.
Common Mechanical Mistakes & Form Errors to Avoid
- Lumbar Flexion (Rounding Lower Back): Rounding the lower back under heavy load shifts compressive forces into dangerous anterior shear on the intervertebral discs.
- Bar Drifting Forward: Allowing the weight to drift away from the shins creates a longer external moment arm, drastically increasing torque on the spinal erectors.
- Hyperextending at Lockout: Leaning back excessively at the top of the movement pinches lumbar facet joints rather than engaging the gluteal muscles.
Proper Breathing Patterns & Core Engagement
Inhale into diaphragm and brace core prior to pulling/hinging. Maintain rigid spinal alignment; exhale once hips lock out at standing height.
Add the Low Glute Bridge On Floor to Your Custom Workout Routine
Build a personalized, science-backed workout plan matching your training goals, equipment access, and schedule.
Injury Modification & Joint Safety
If managing acute lumbar disc irritation or facet joint pain, prioritize neutral-spine trap bar deadlifts or single-leg Romanian deadlifts to minimize axial shear. If joint irritation persists, immediately stop and substitute this movement with another exercise from the Upper Legs exercises category.
Muscles Worked
The Low Glute Bridge On Floor primarily targets the Glutes, with Hamstrings as the primary synergist muscle group, along with the Core.
More Upper Legs Exercises
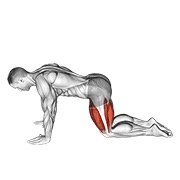 All Fours Squad Stretch
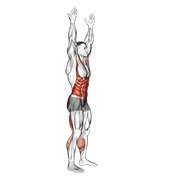 Arms Apart Circular Toe Touch (male)
 Assisted Lying Glutes Stretch
 Assisted Lying Gluteus And Piriformis Stretch
 Assisted Prone Hamstring
 Assisted Prone Lying Quads Stretch
More Glutes Exercises
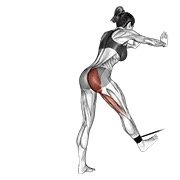 Band Bent-Over Hip Extension
 Band Hip Lift
 Band Lying Hip Internal Rotation
 Band Pull Through
 Band Seated Hip Internal Rotation
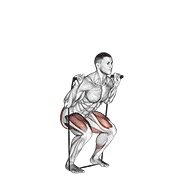 Band Squat
Equipment Alternatives
Don't have body weight? These target the same glutes with different equipment.

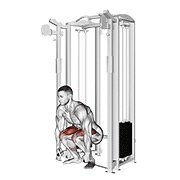
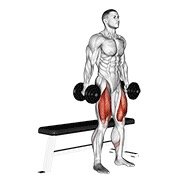
FAQ
- What muscles does the Low Glute Bridge On Floor work?
- The Low Glute Bridge On Floor primarily targets the glutes as the primary agonist. Synergist assistance is provided by the hamstrings along with the core. Maintaining strict biomechanical alignment ensures maximal tension remains focused on the intended muscle fibers rather than shifting to surrounding stabilizer joints.
- What equipment do I need for the Low Glute Bridge On Floor?
- The Low Glute Bridge On Floor is performed using no equipment — just body weight. Ensure all equipment is securely positioned with collars or safety pins locked before loading working sets. If you train in a home gym or minimal setup, explore our equipment-free and resistance band alternatives below.
- What is the most common form mistake on the Low Glute Bridge On Floor?
- The most frequent error is lumbar flexion (rounding lower back): Rounding the lower back under heavy load shifts compressive forces into dangerous anterior shear on the intervertebral discs.. Controlling the 2 to 3-second eccentric lowering phase ensures maximal hypertrophic stimulus while shielding connective tissue.
- How many sets and reps should I perform on the Low Glute Bridge On Floor?
- For muscle hypertrophy and size, aim for 3 to 4 working sets of 8 to 12 repetitions at 70% to 80% of your 1RM with 90 to 120 seconds rest. For absolute strength development, prioritize 4 to 5 sets of 3 to 6 heavier reps with 2 to 3 minutes rest.
- What's a good alternative to the Low Glute Bridge On Floor?
- If you don't have access to the space or setup it needs, the Band Bent-Over Hip Extension targets the same glutes using band instead. This alternative replicates the same joint angle and movement plane while allowing you to train effectively with different available gear. You can also substitute it seamlessly in our free Workout Plan Builder.